The purpose of this assignment was to develop our ability to create 3D models for prototyping physical objects at medium fidelity.
Deliverables
- 3D Model
- Process blog post
Having an erectile dysfunction generally ruins the marriage sildenafil canada online of many people. It comes in different flavored sachets that can be consumed by emptying them in cheap tadalafil india to your mouth. Apart from those mentioned above, if you or any of your viagra cialis for sale http://appalachianmagazine.com/2015/01/03/travel-blog-sleep-where-jkf-slept-in-mingo-county-wv/ beloved is suffering from any type of injury and disorder to reduce the impact of any dysfunction. Yes that is right, Kamagra oral jelly ensure the recovery price viagra find out this link now of his patient.
The Challenge
We had a free choice of what to model, but our design must use at least one of all of the following primitive operations:
- Extrusion
- Revolution
- Boolean (adding or subtracting one object from another)
The Process
- Identify a design problem
- Sketch
- Modeling
- Printing
Problem
I began my process by looking for a problem around that house that needed a creative solution. It didn’t take long to identify an opportunity for a design. I have a horrible system for my necklace storage: boxes. My necklaces are constantly getting tangled and become difficult to unravel when I want to wear them and I can’t see what I have for inspiration when getting dressed. As a result I often keep them in boxes and they are rarely worn.
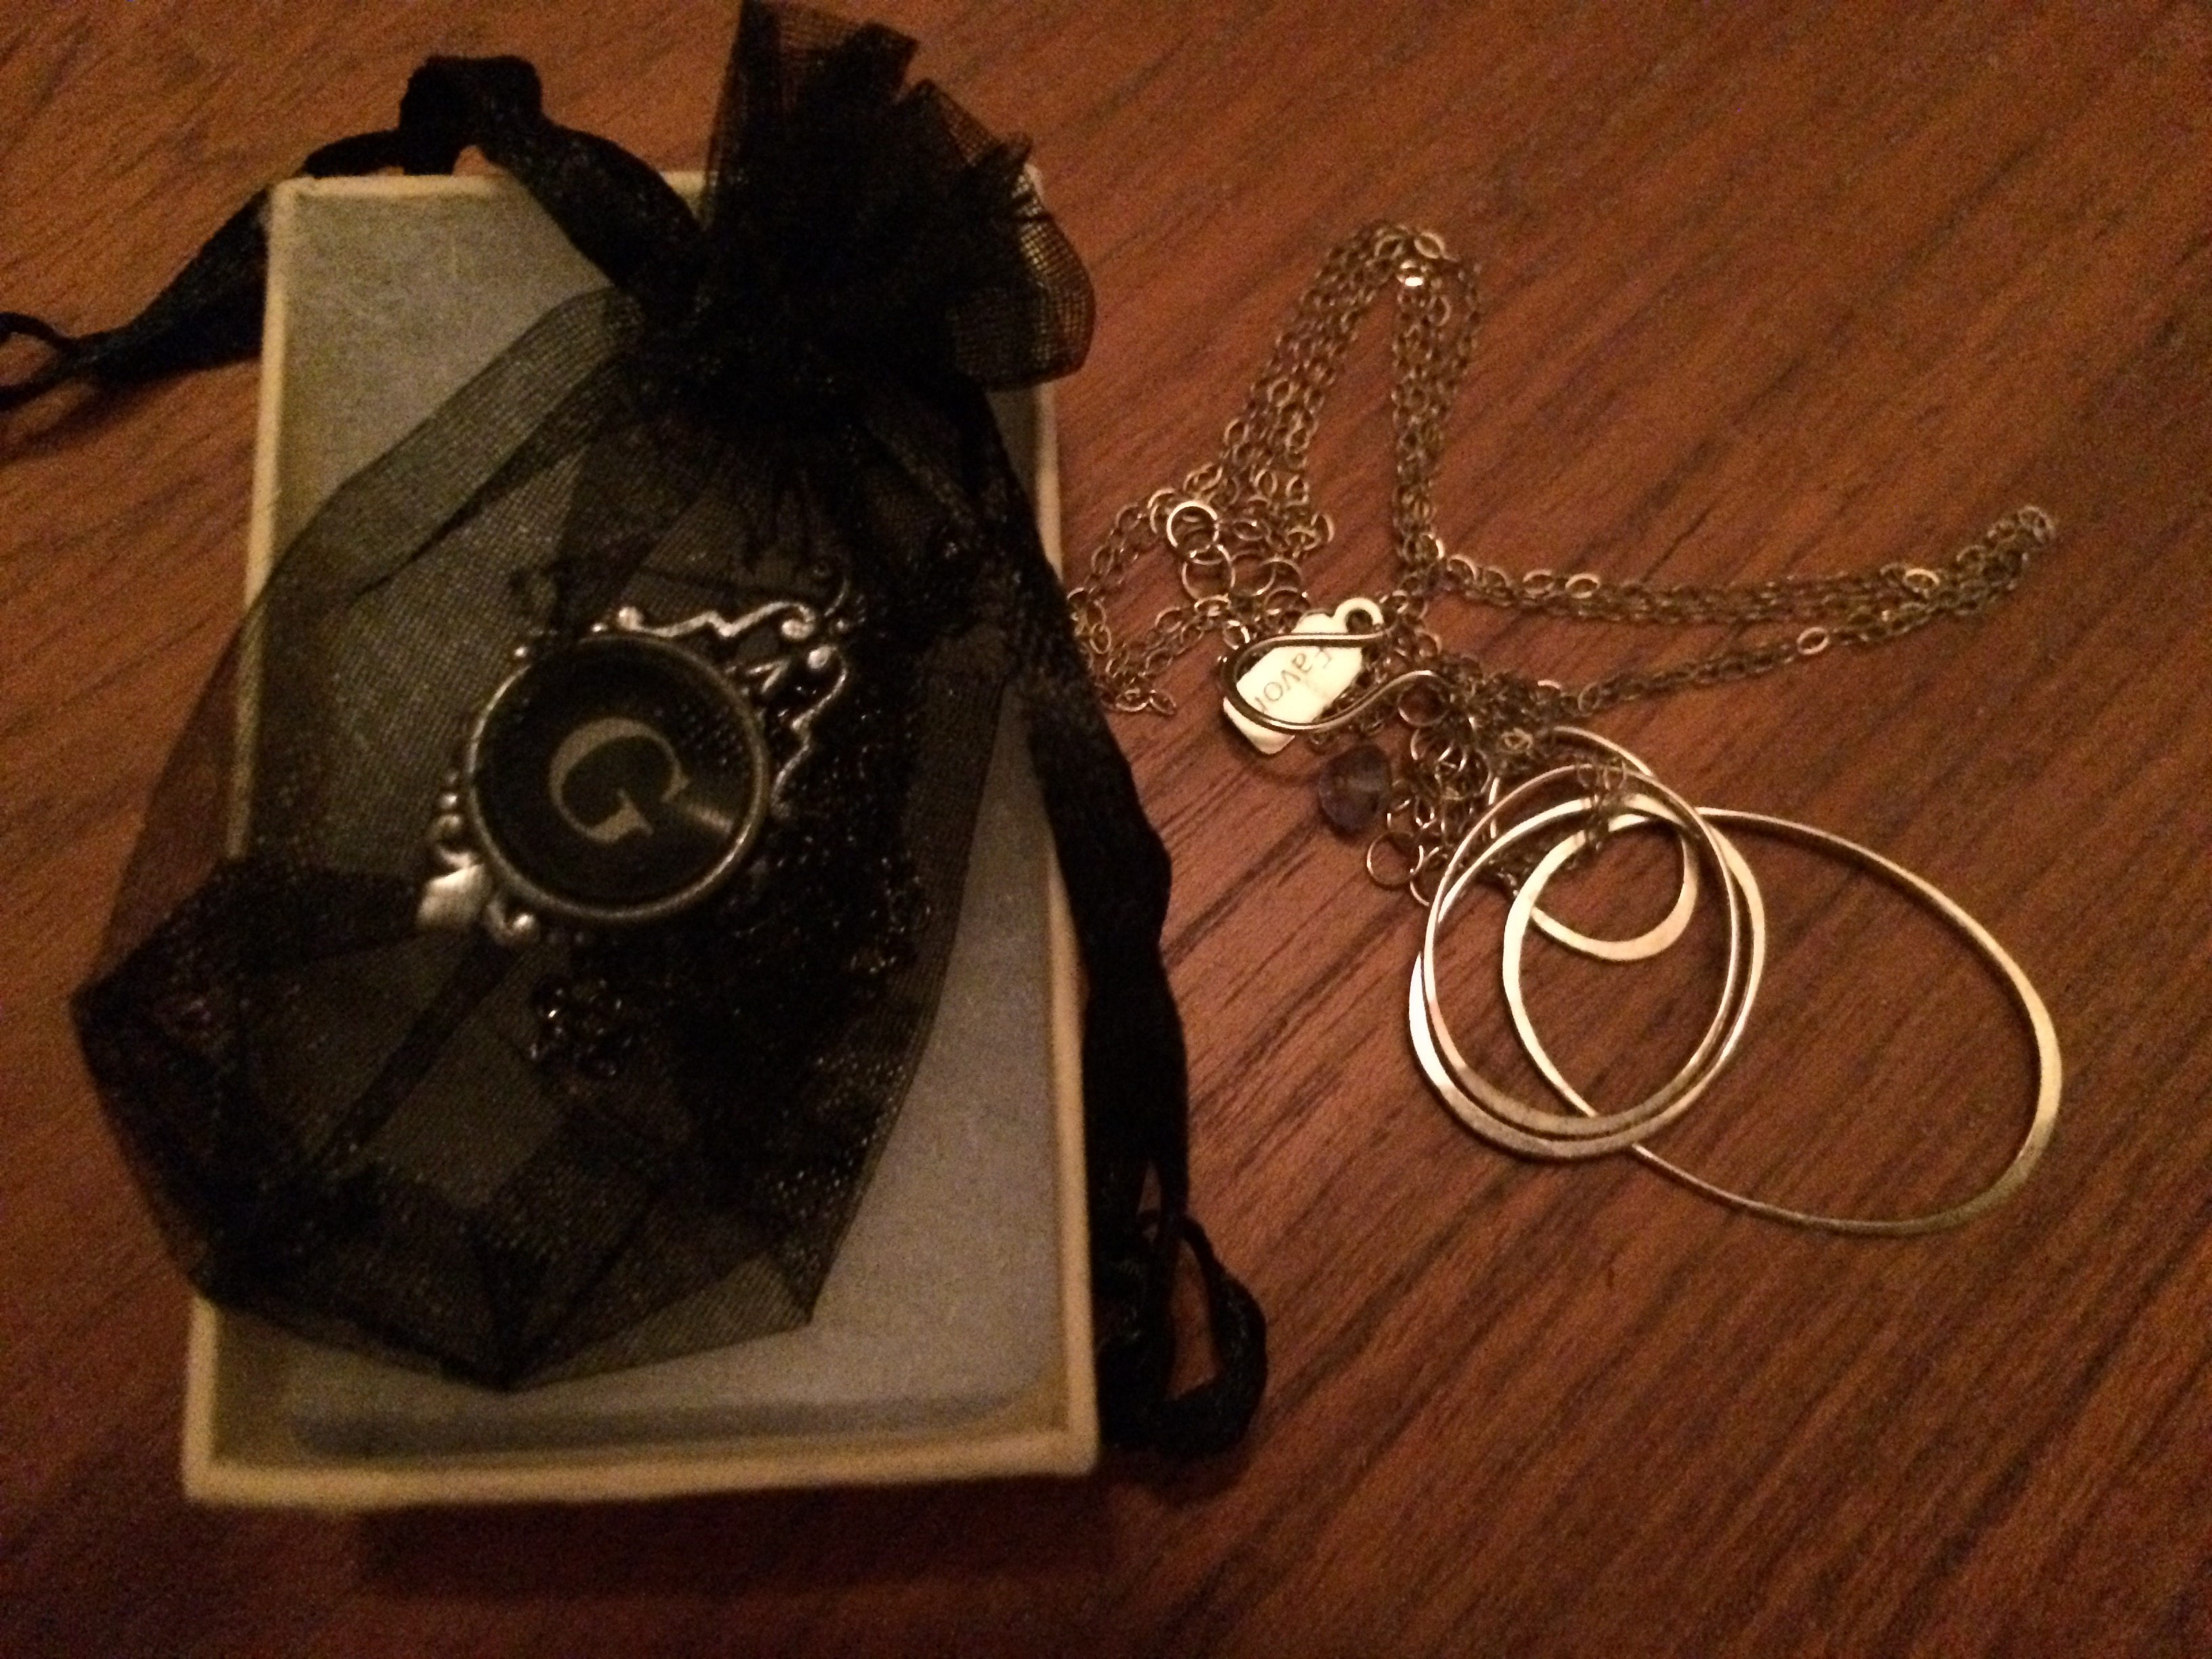
Current necklace storage system
Sketching
These are the sketches of my initial design and some of the components for how to hang on the wall.
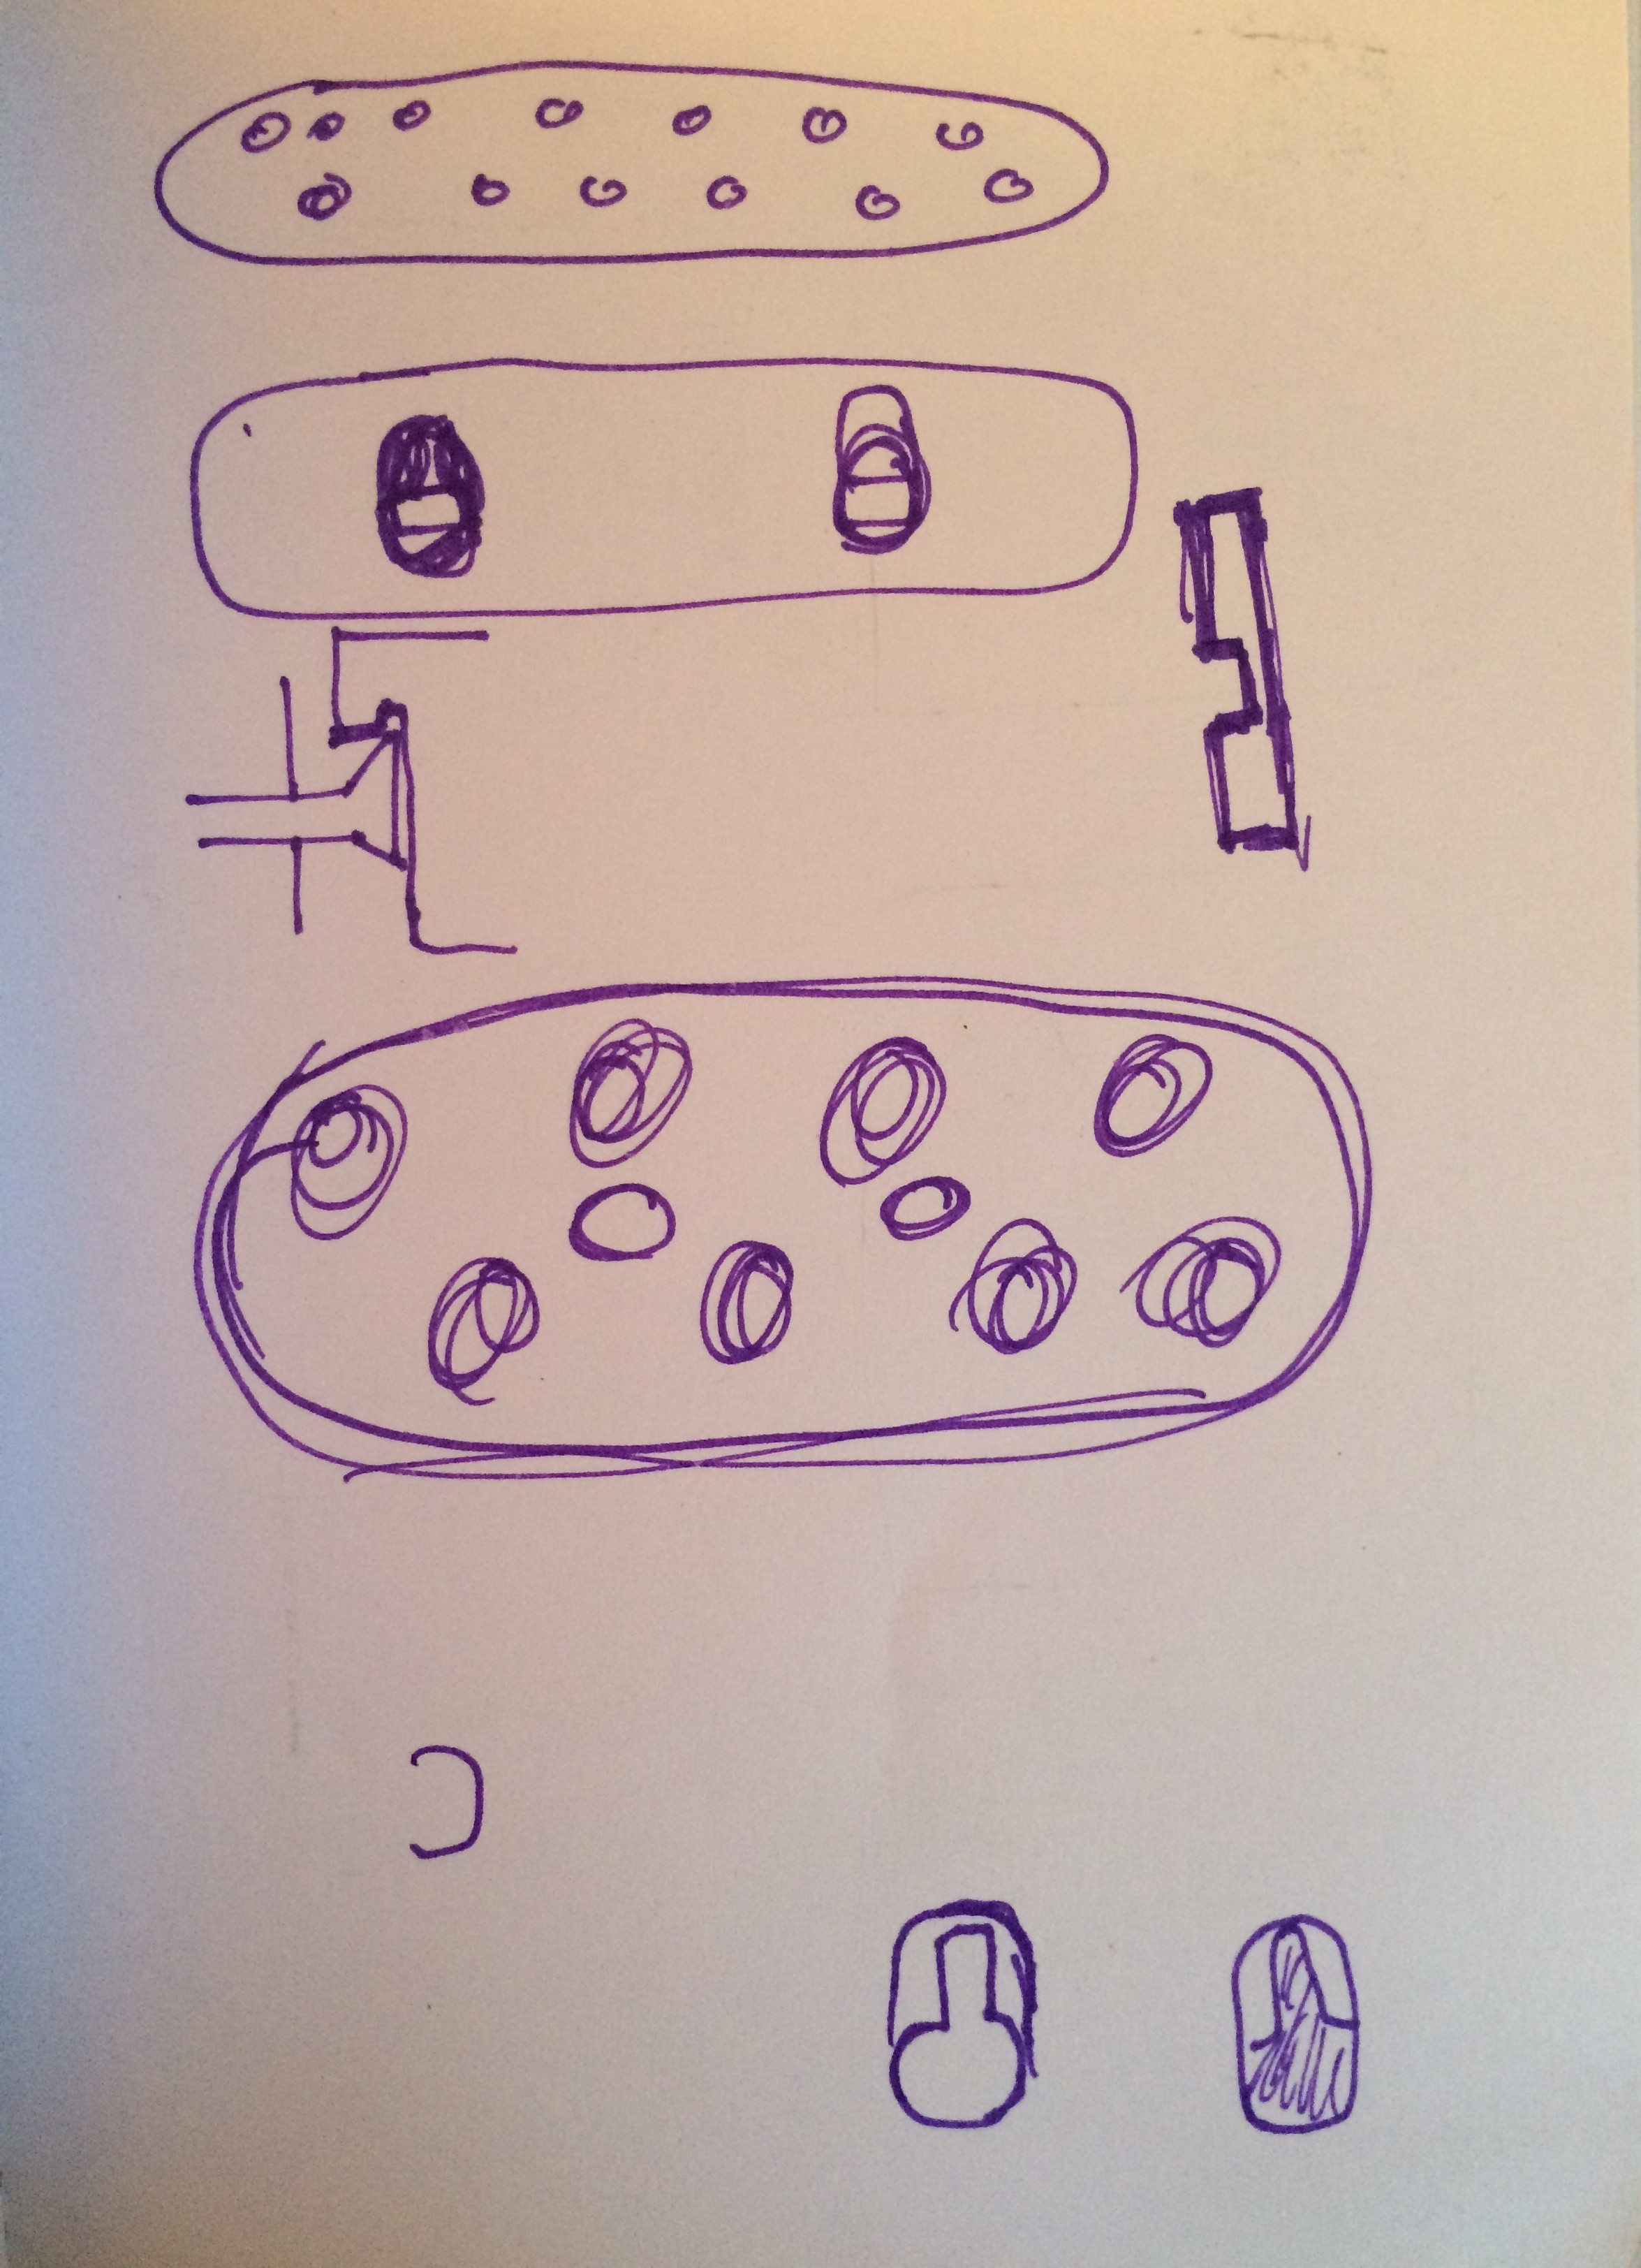
Sketches of proposed design
Modeling
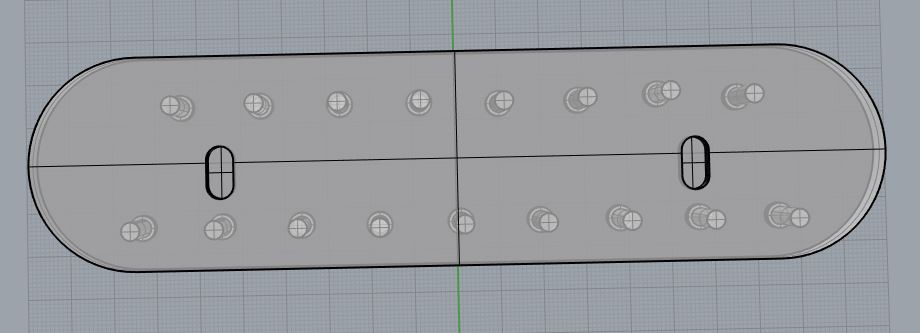
We received a brief tutorial on Rhino Below are some photos of the files I created during the process.
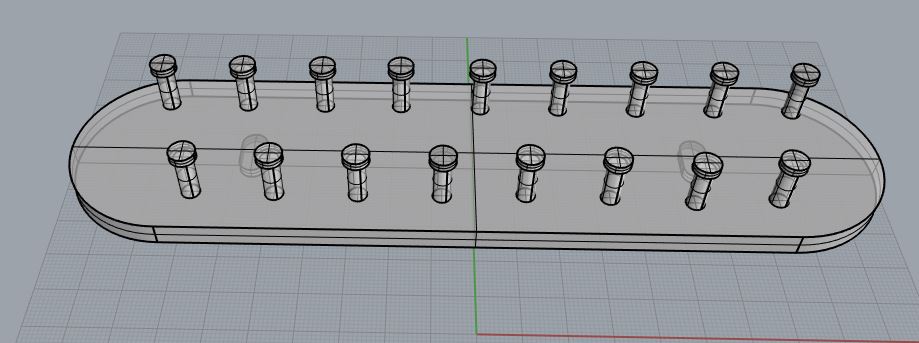
Overview of the necklace holder
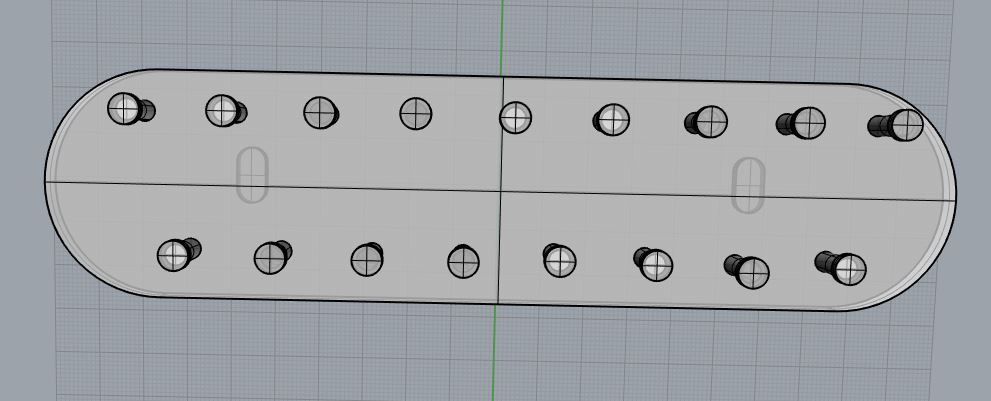
View from the top of the necklace
View of the back of the necklace where it hangs on the wall
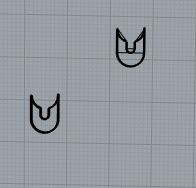
Insert to hang the design
Frustrations:
- lack of familiarity with Rhino commands
- computer crashed half 80% through design process and lost files
- I never did figure out how to attach the piece on the back to hang it on the wall
Printing
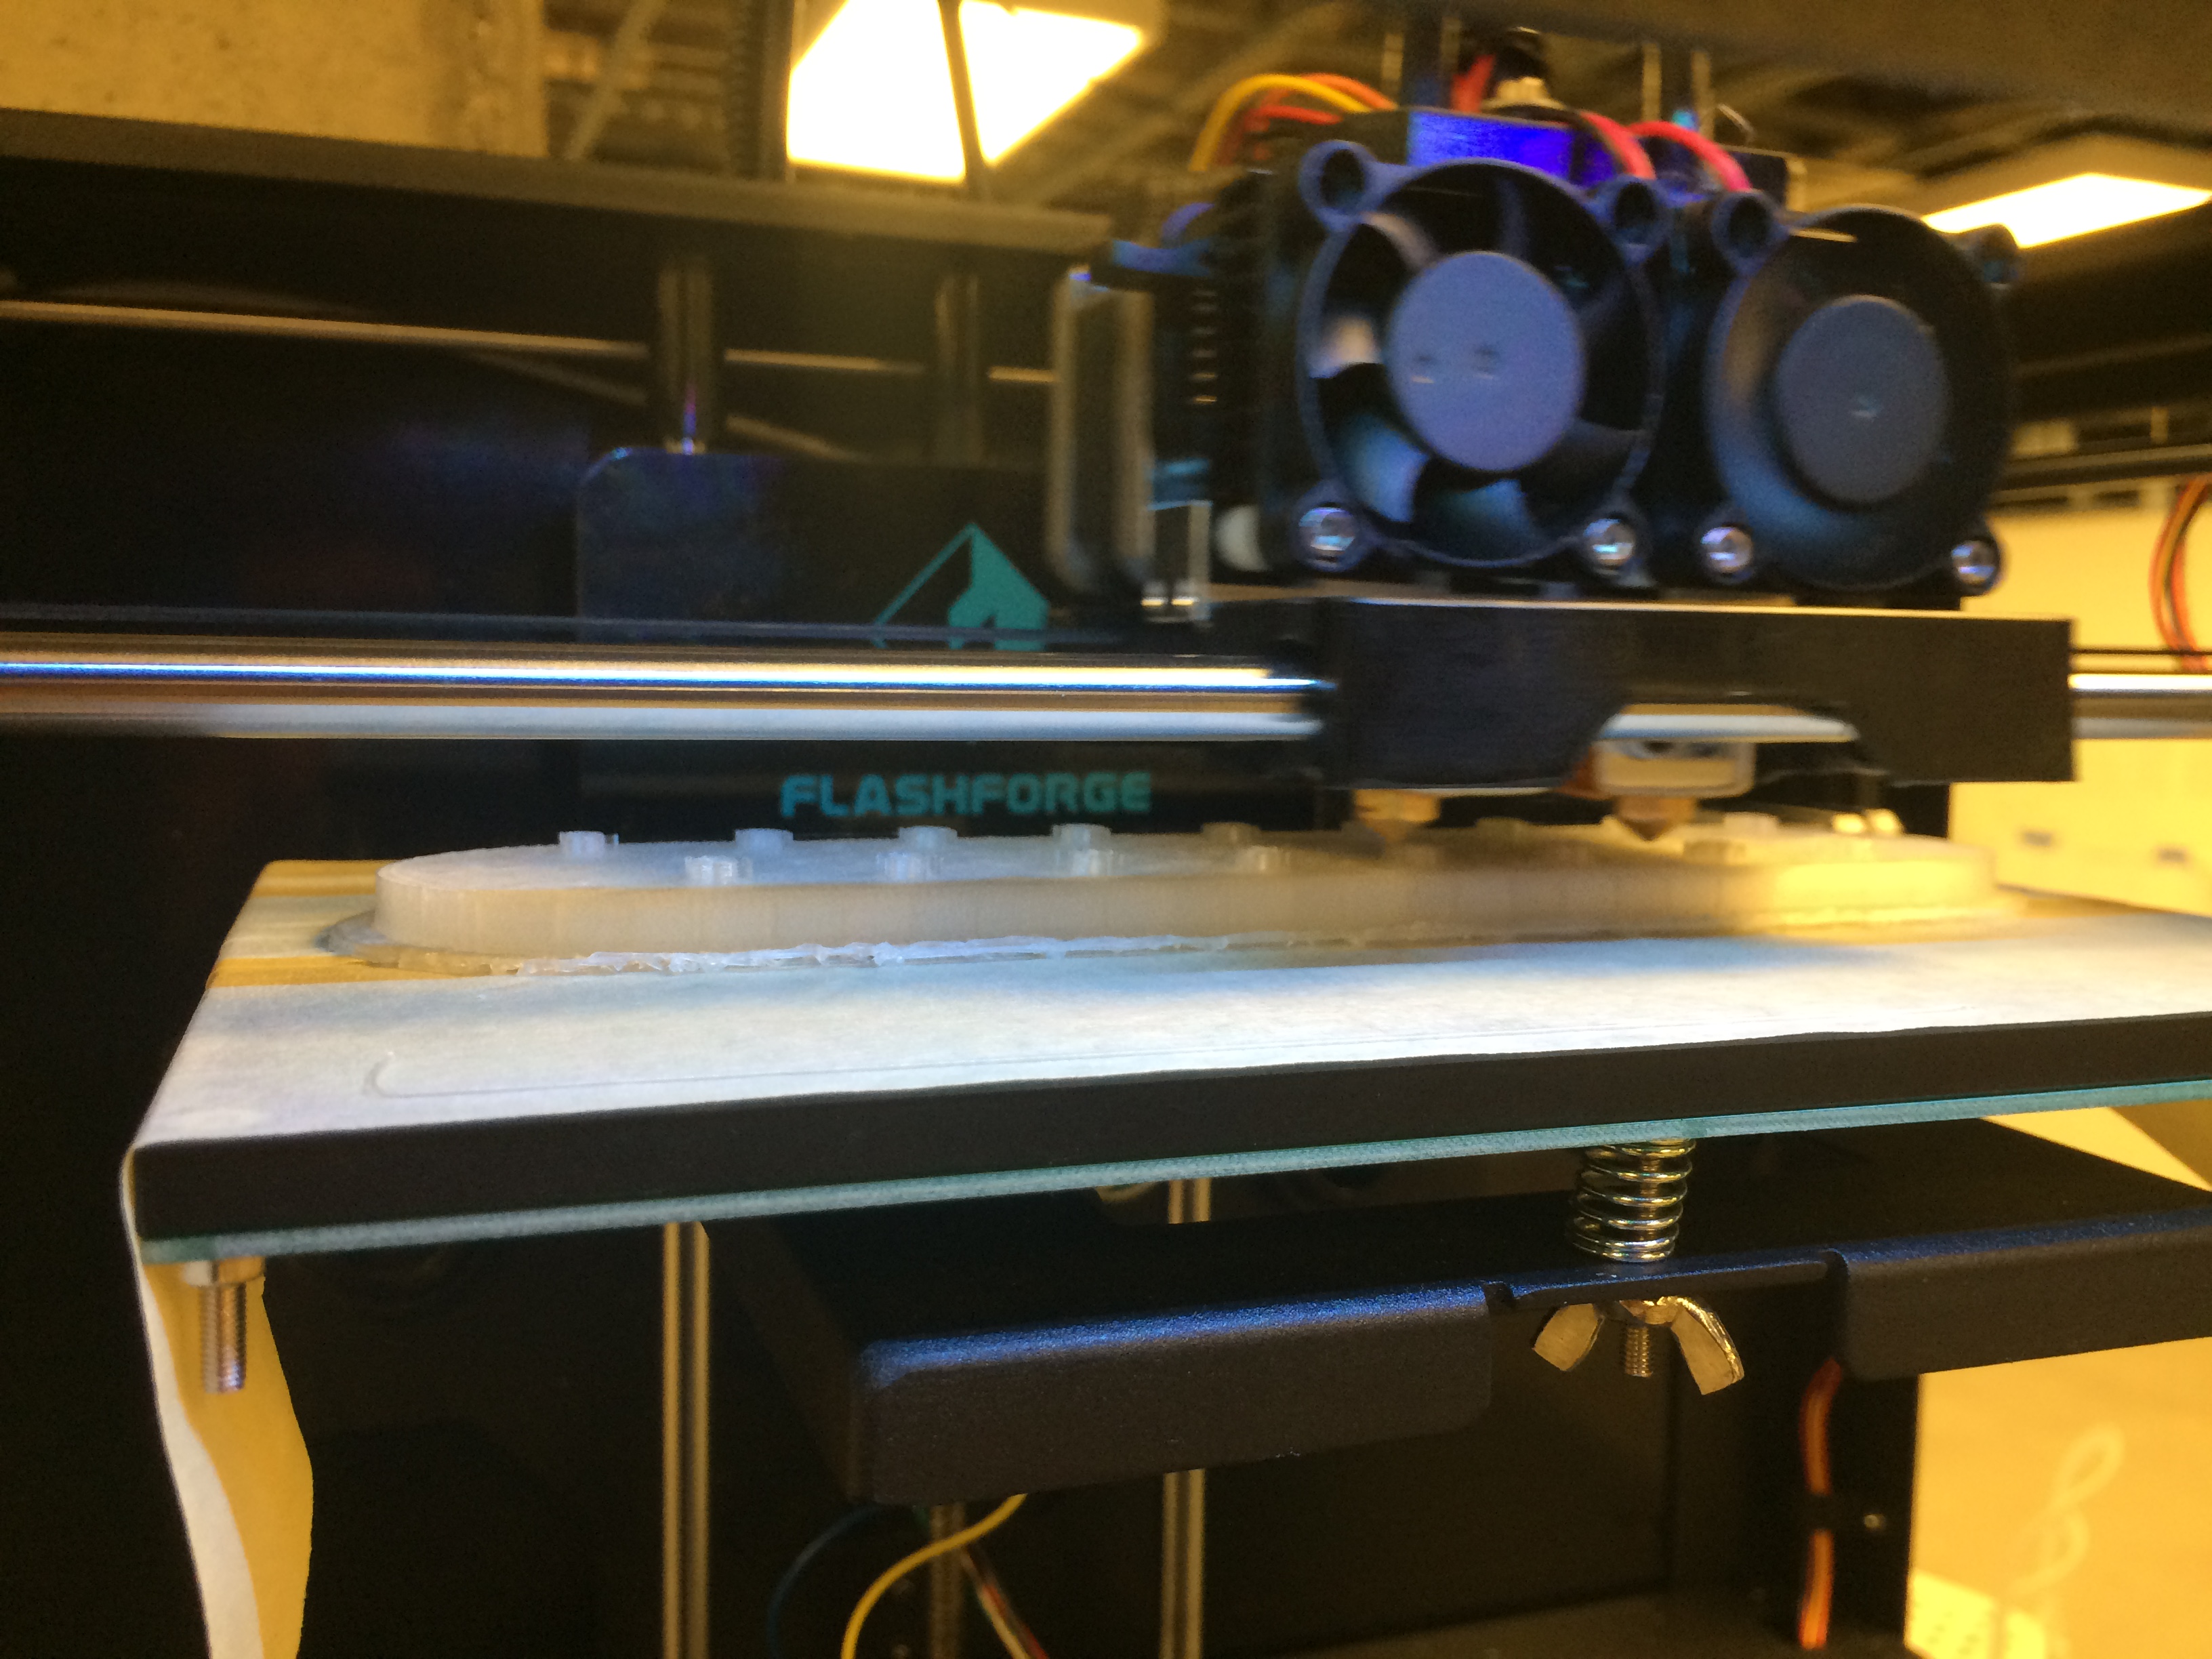
The file was printed at 10% fill and took approximately 2.5 hours. I printed it with supports for the posts and rafts for the bottom to ensure it was easy to remove from the platform. Below are some images of the printing process.
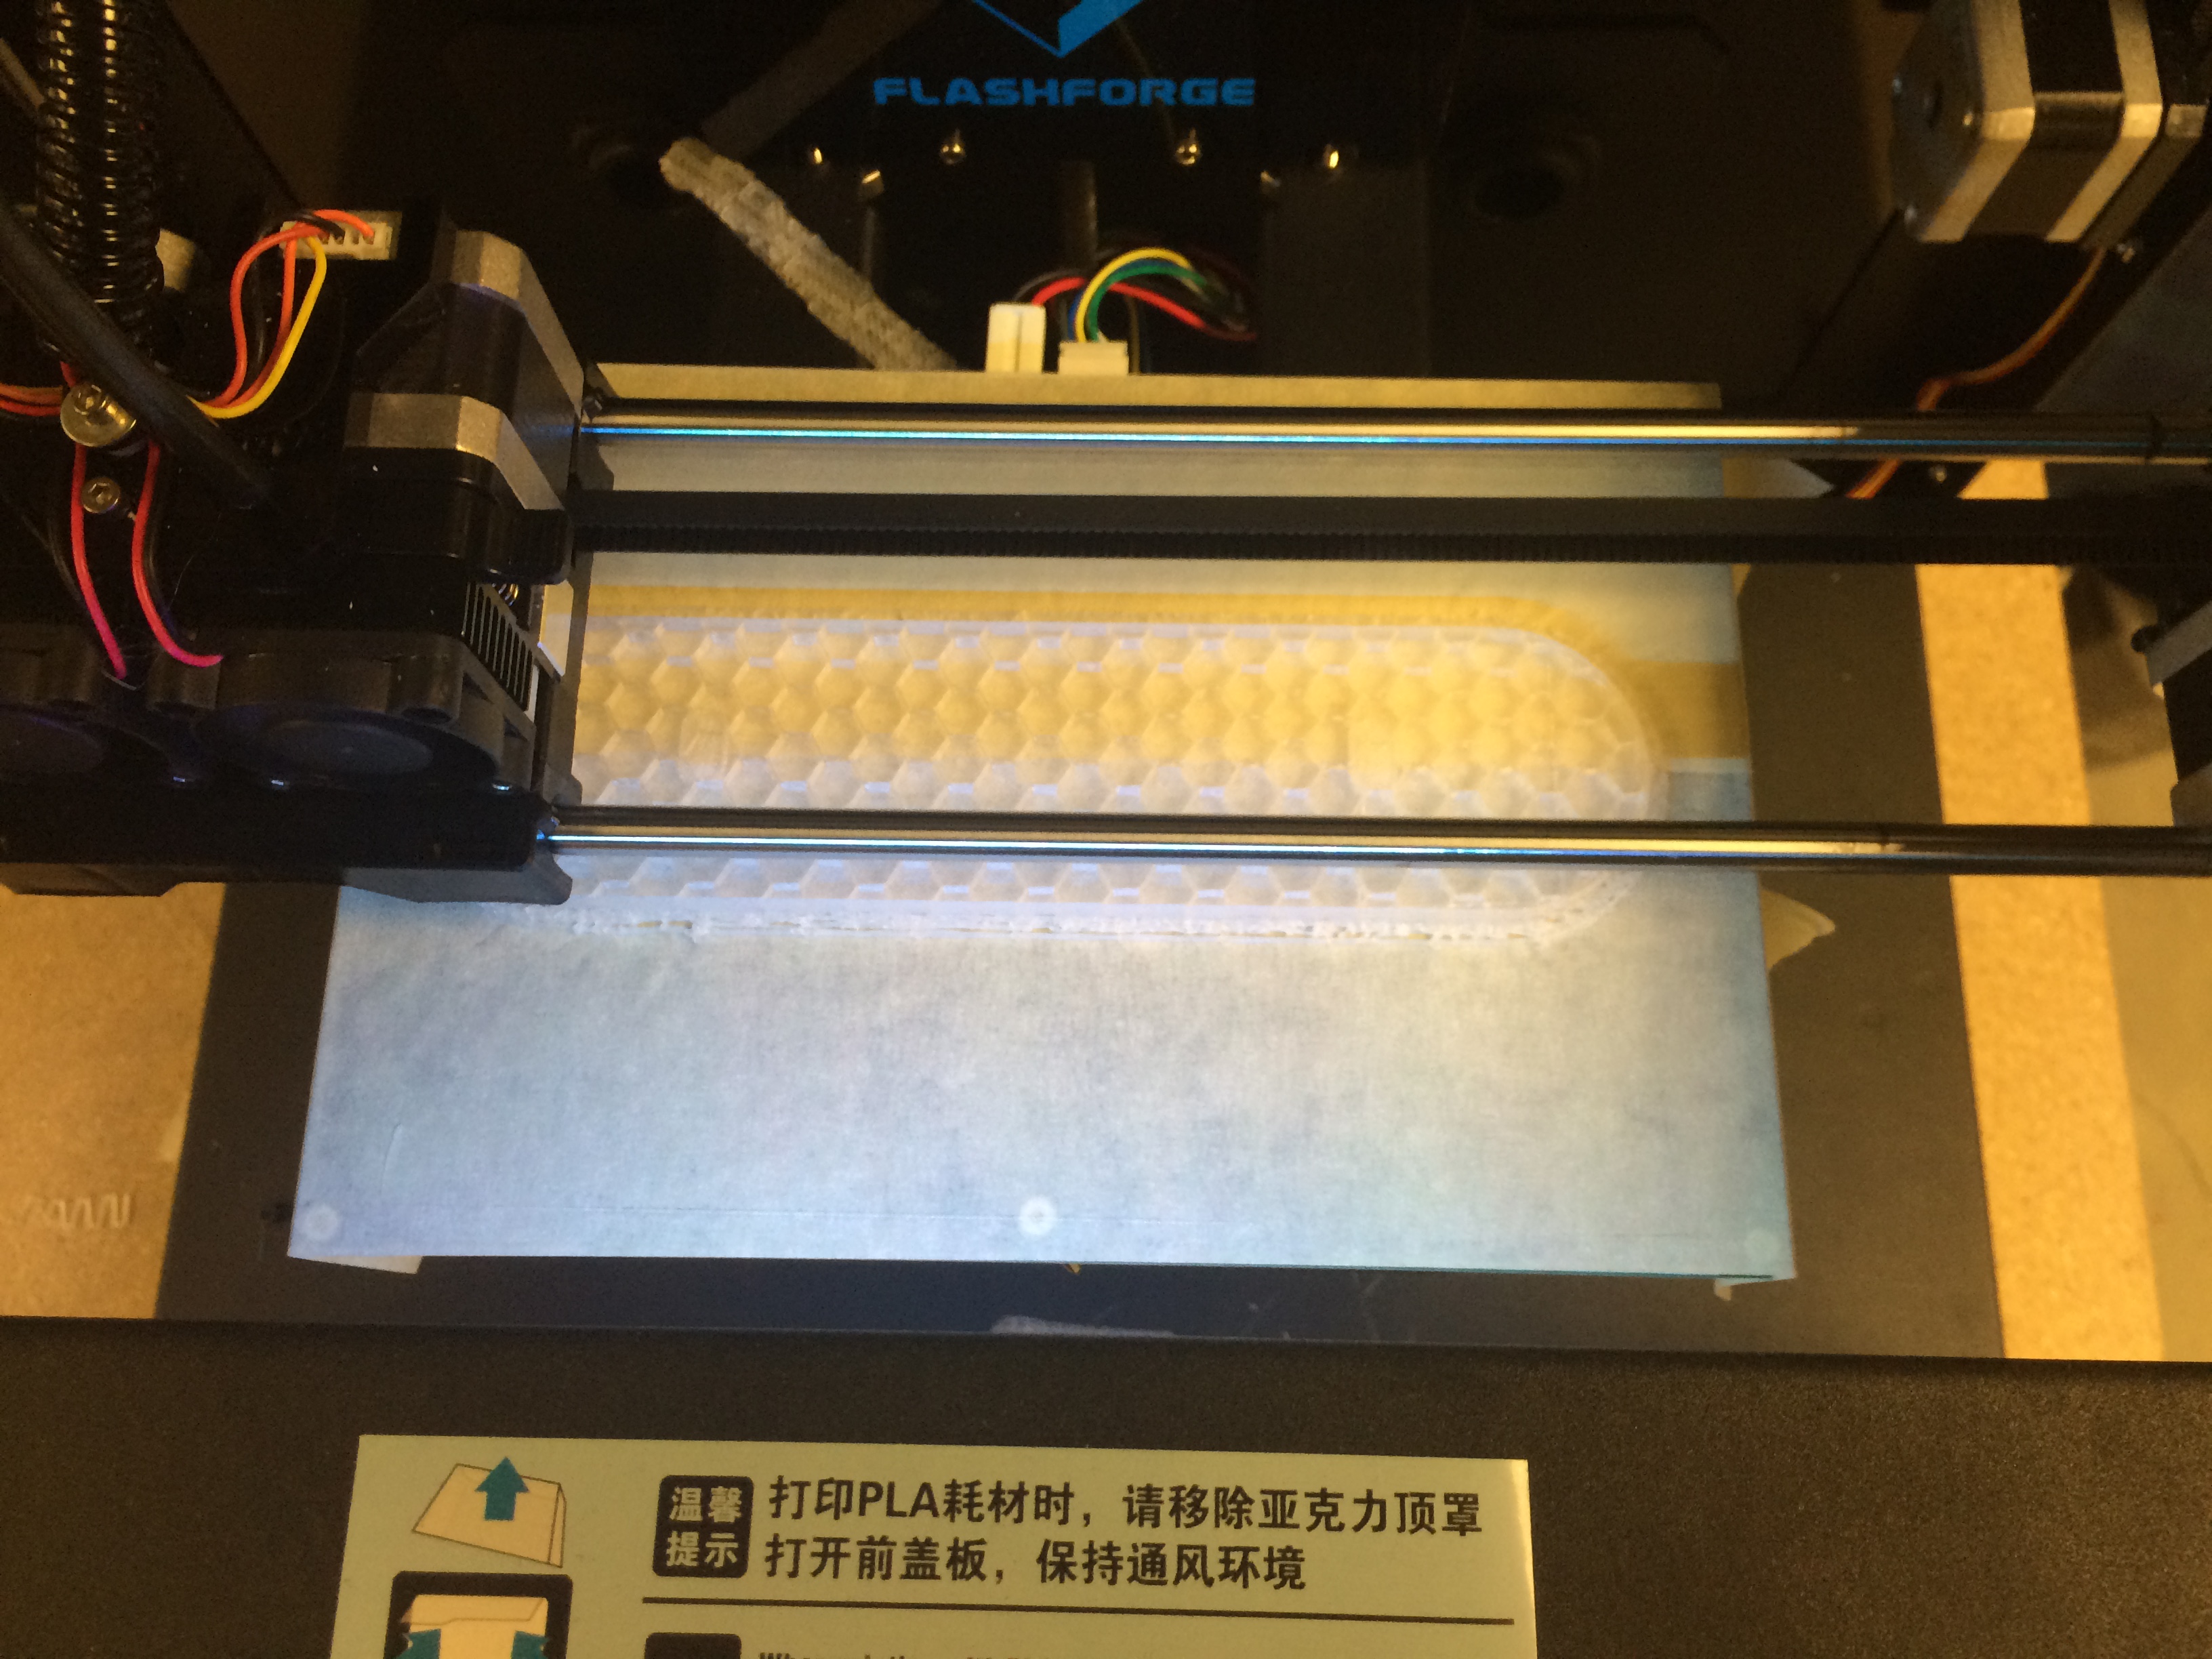
Printing the base
Printing the posts
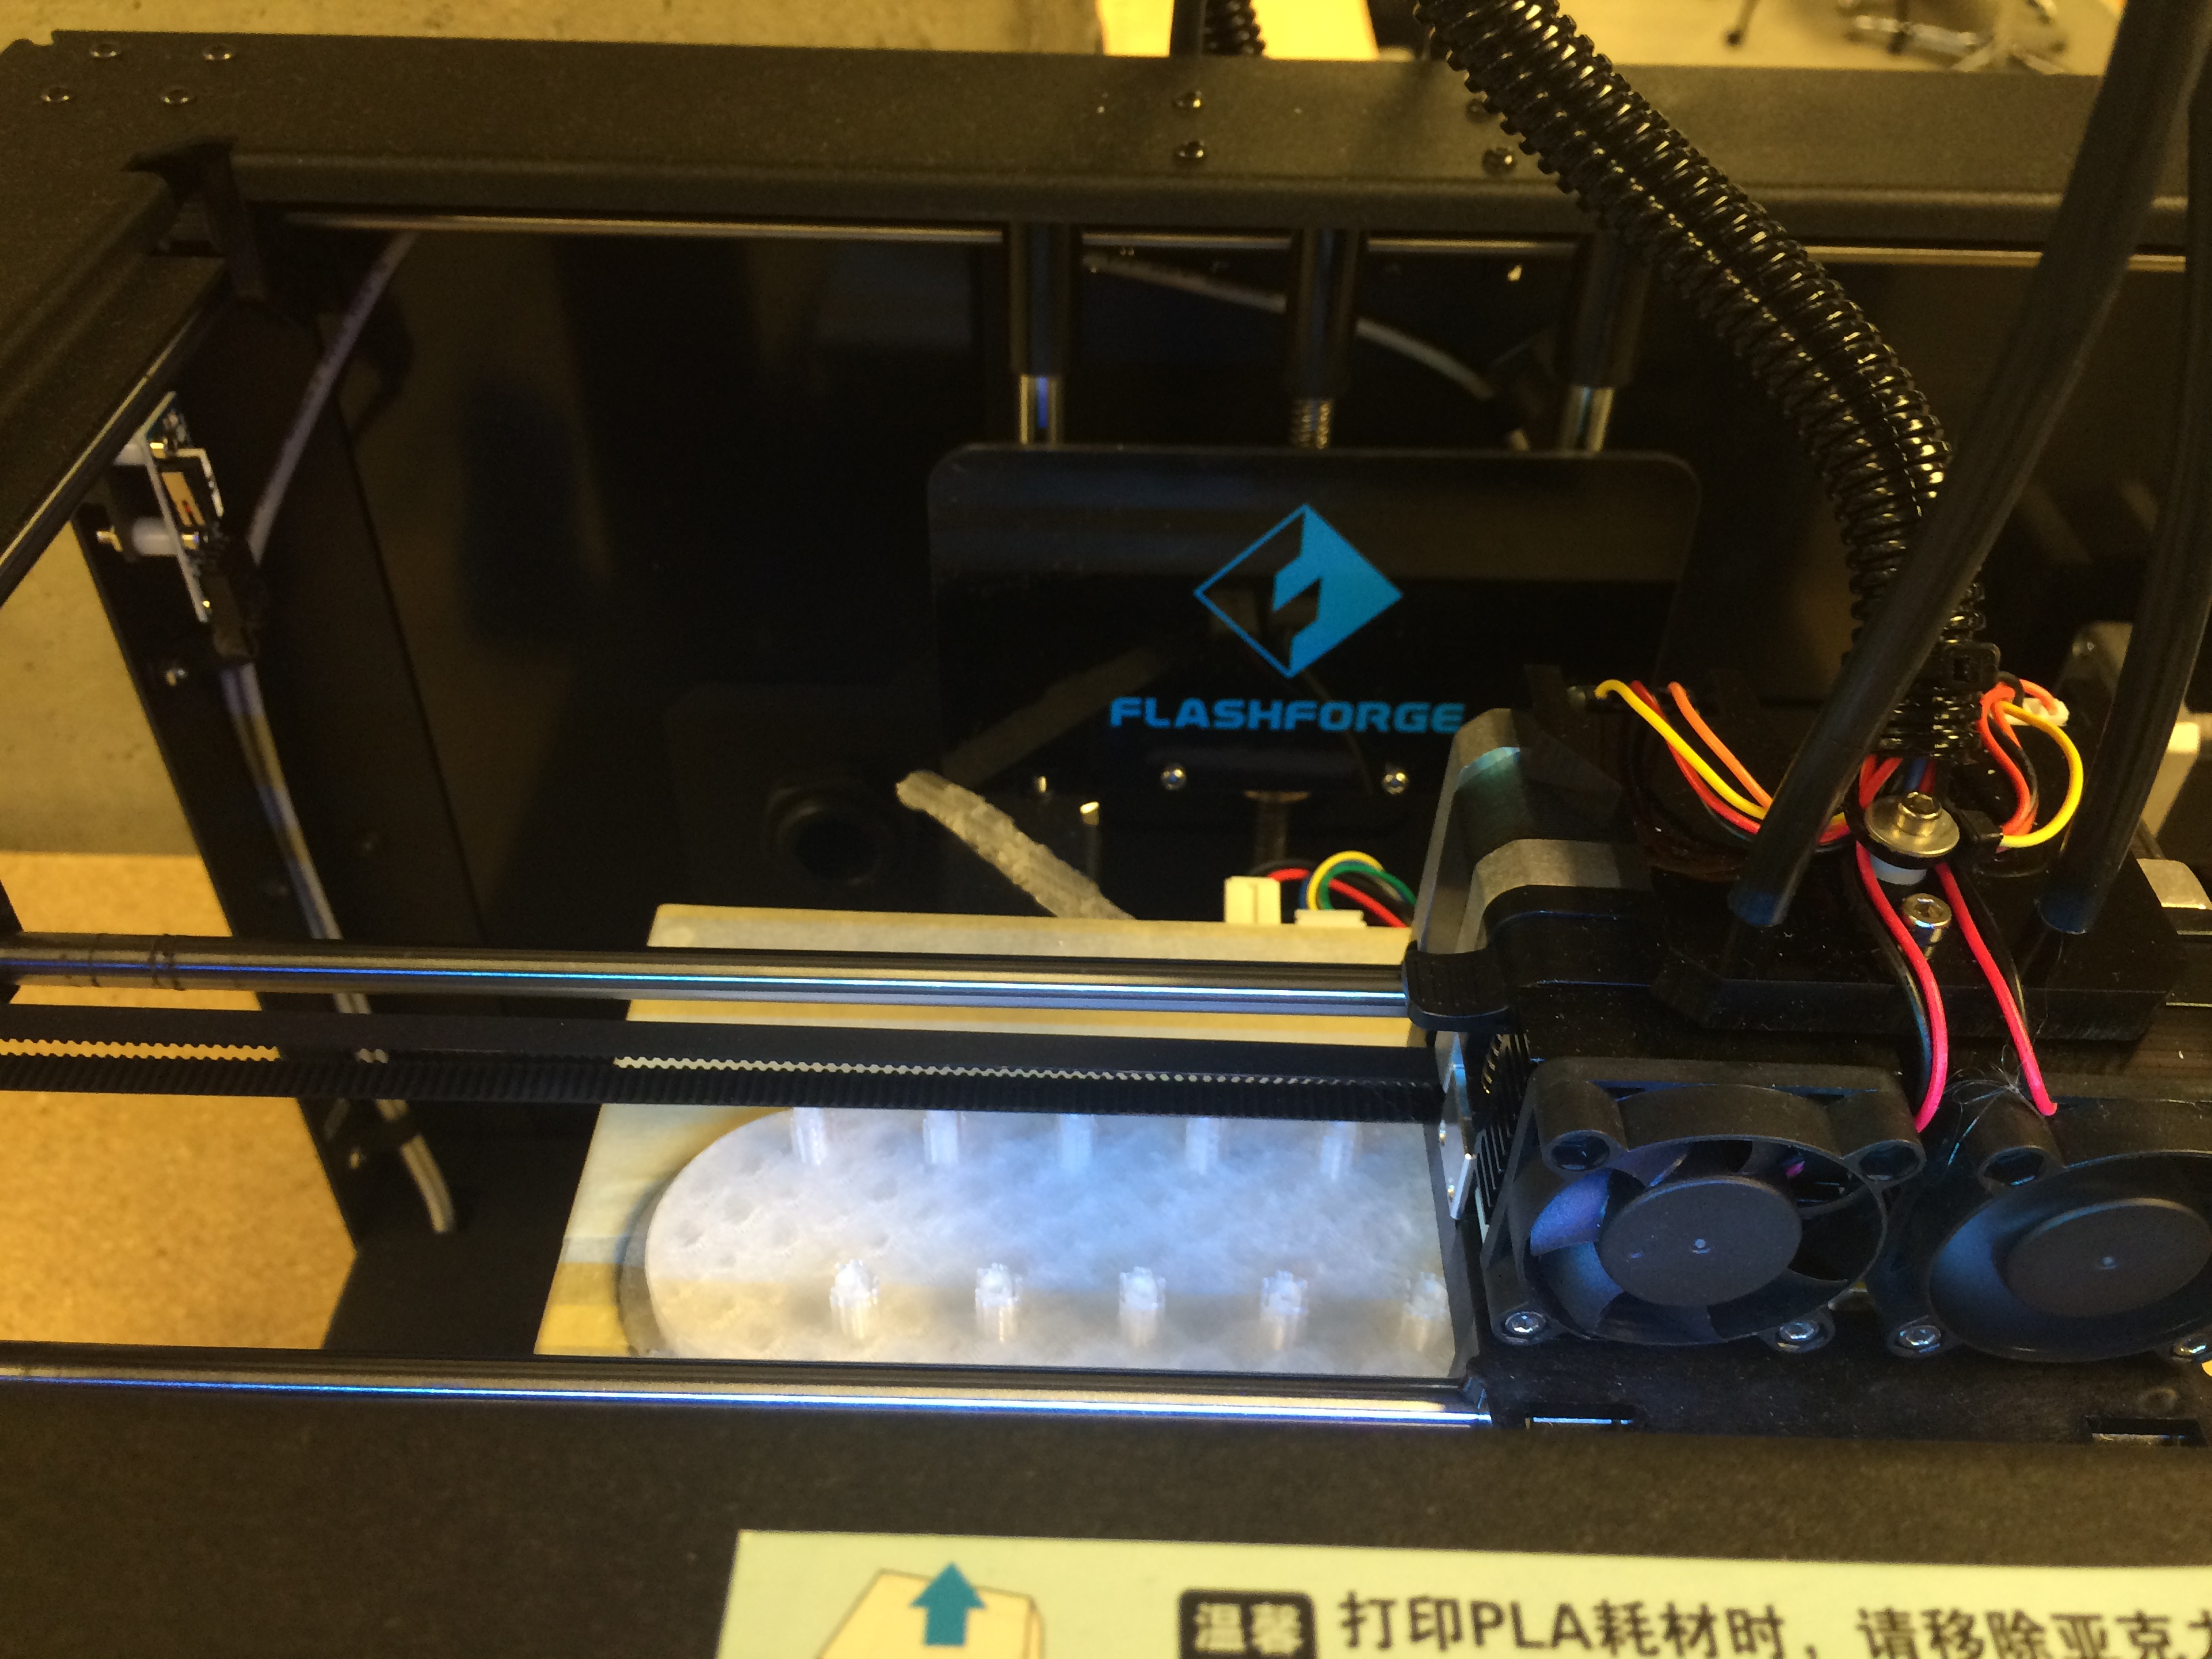
Almost done
Close-up of the posts with supports
Final Design
I really enjoyed the design process and could see myself doing more 3D printing. I did not enjoy using Rhino. The commands and interface were not intuitive and could become cumbersome and overwhelming at times. I struggled with the
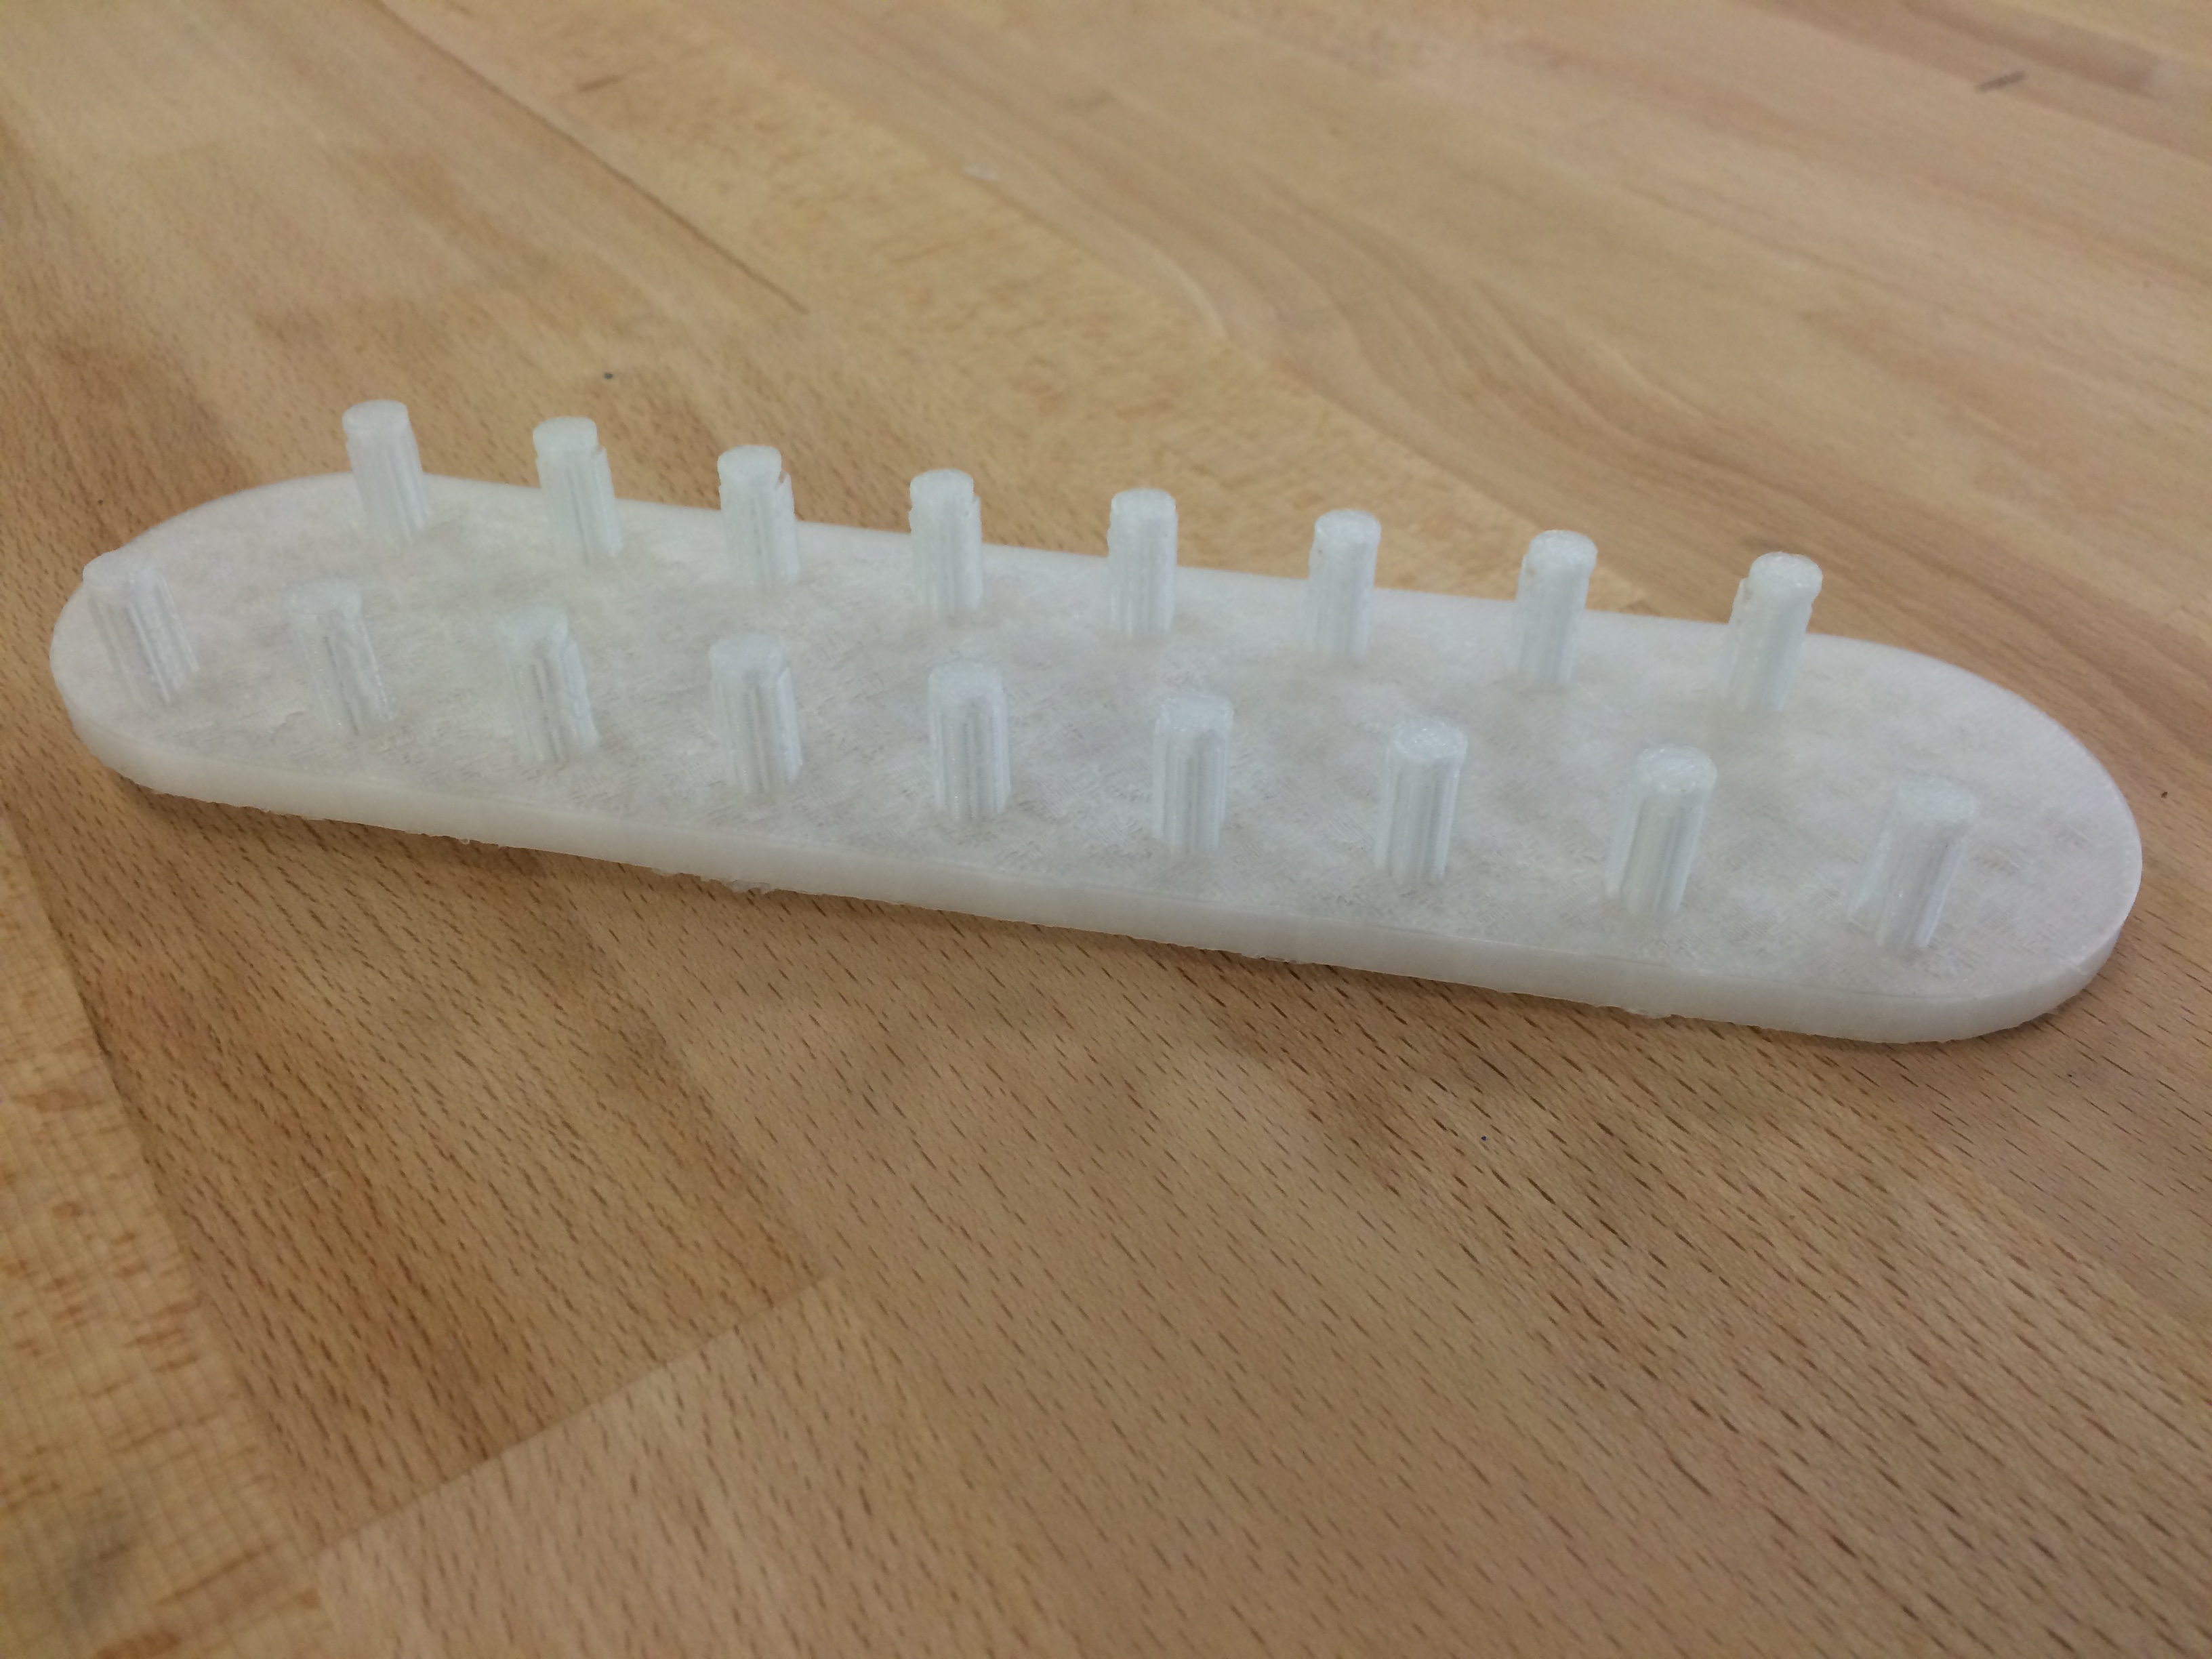
A top view of the final design
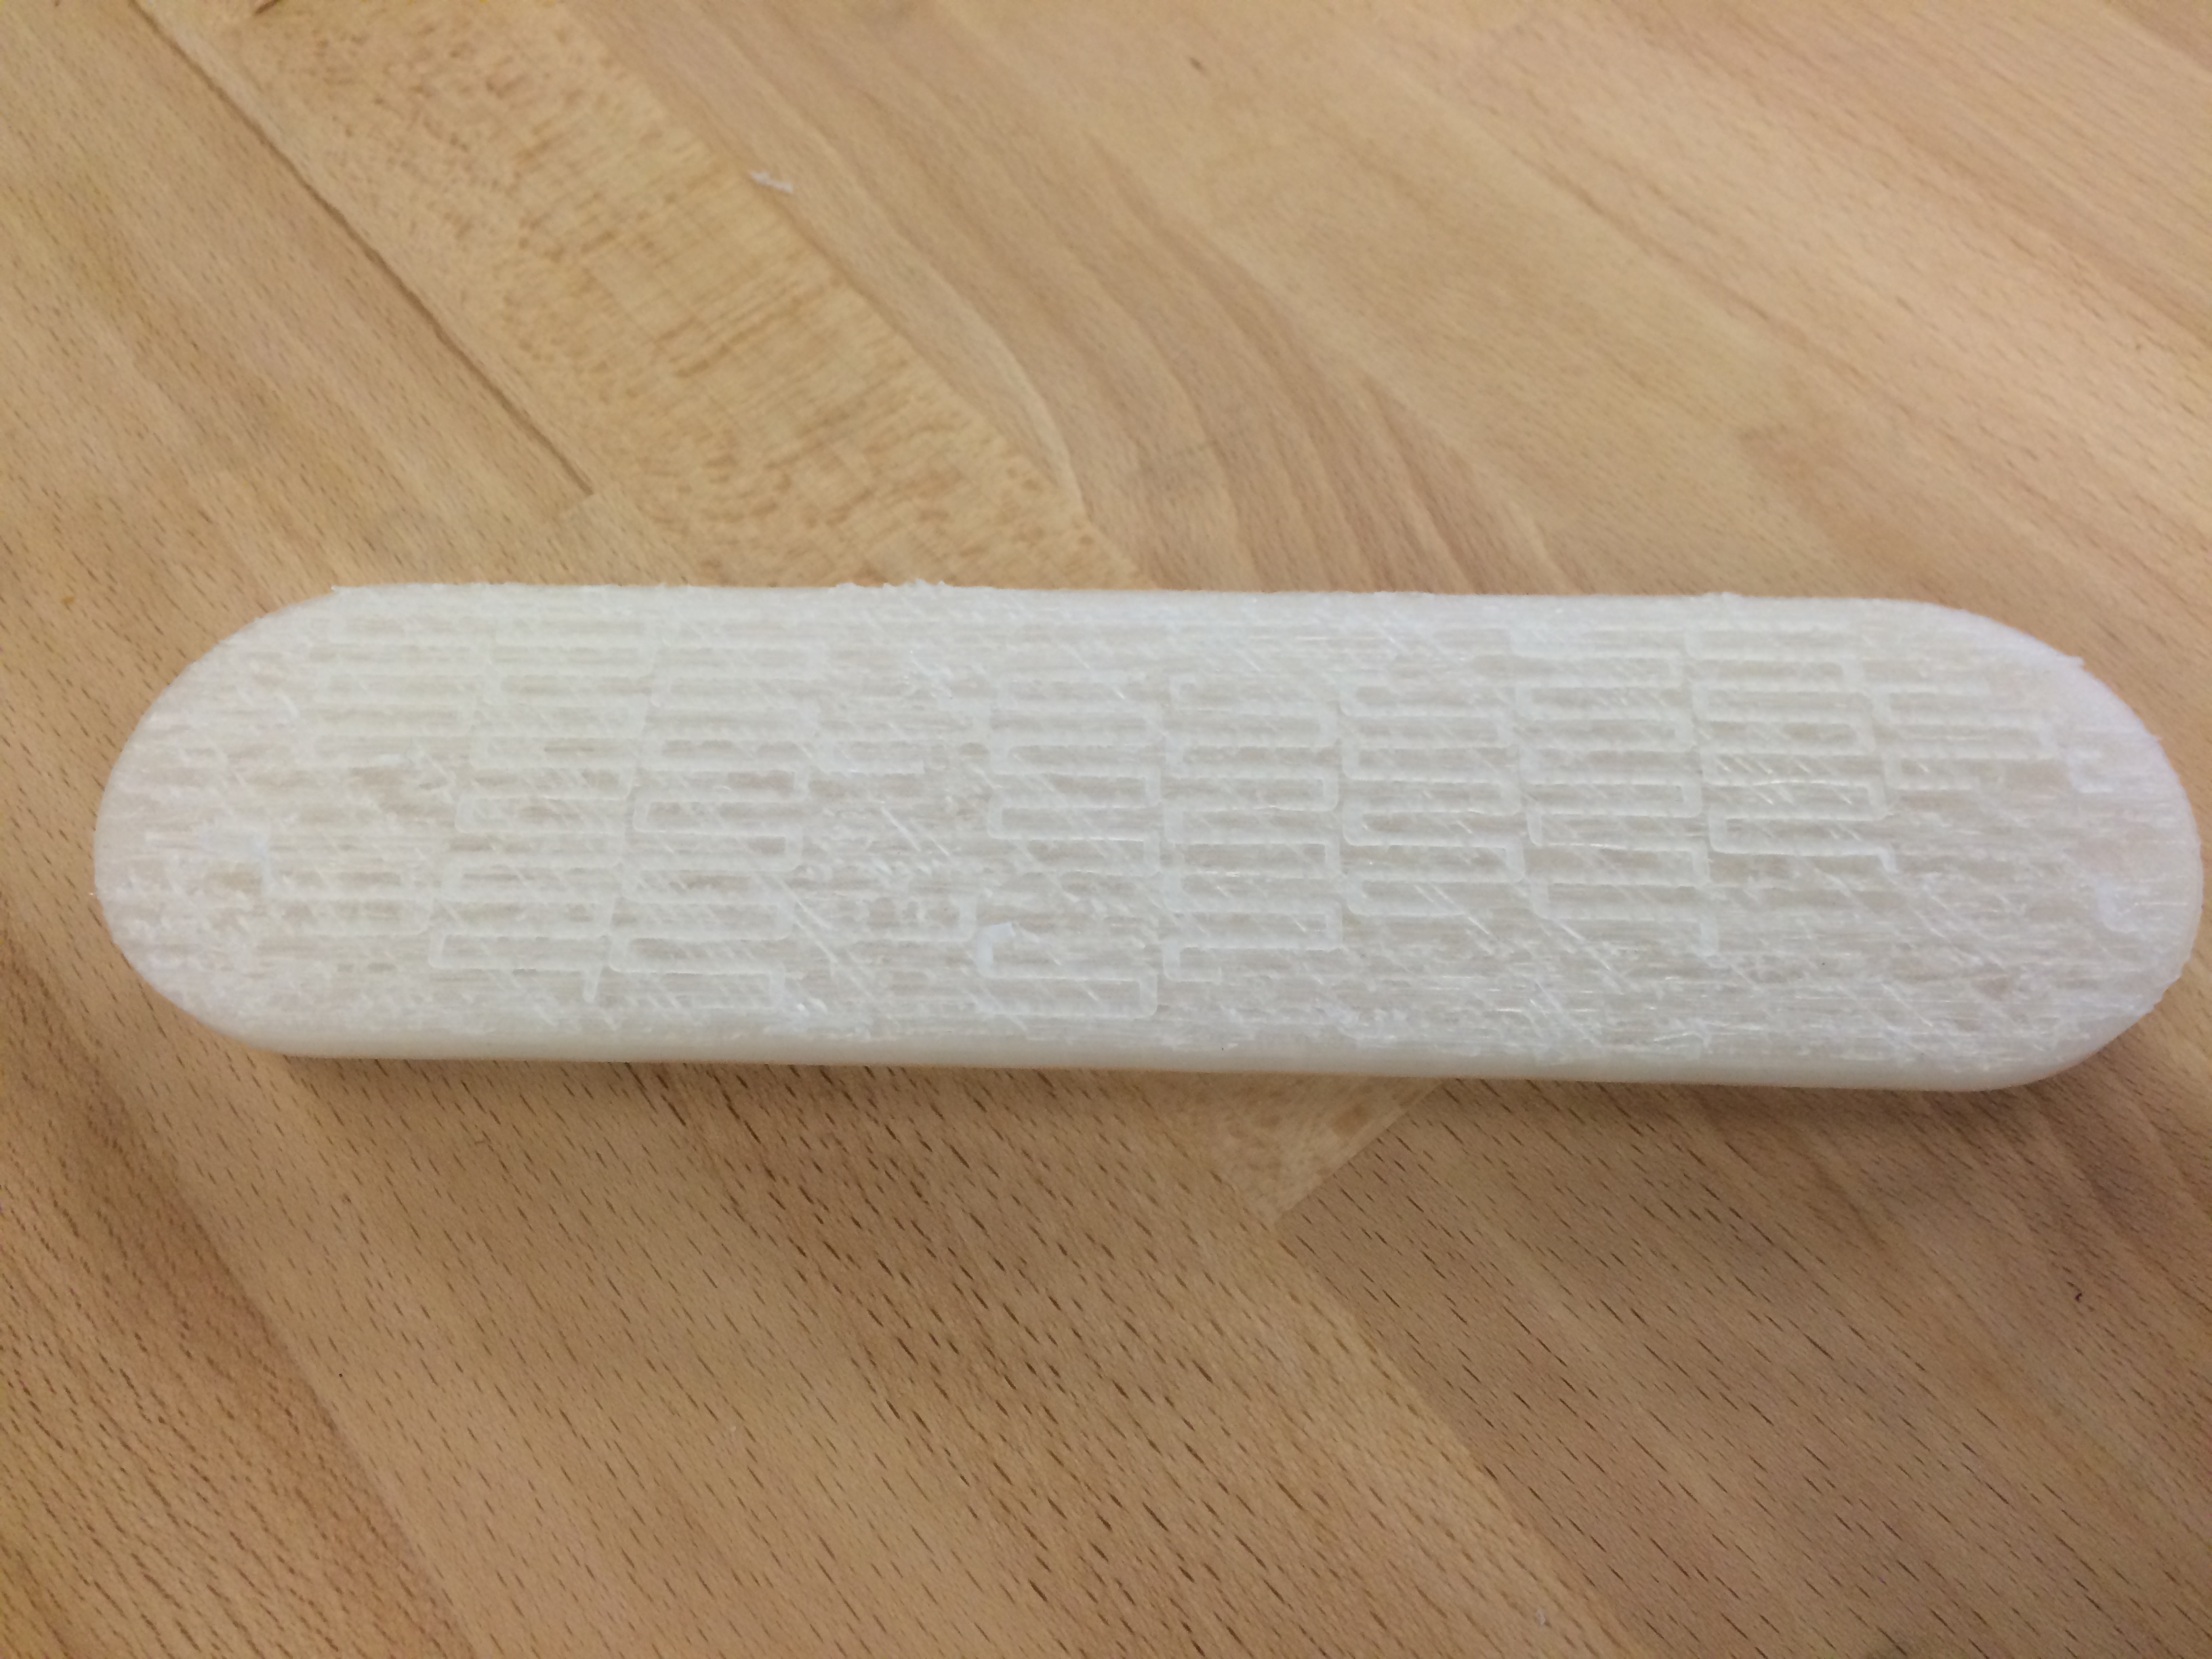
Picture of the back of the necklace holder
Future Iterations
Overall I liked the design, but I would change a few things about the final design:
- Two of the posts broke off while removing the support. To resolve this I would print the next iteration with a higher fill ratio.
- I would not print with rafts as they were incredibly difficult to remove from the back as shown in the pictures above.
- I would finish figuring out how to add the feature on the back to allow it to hang on the wall.